Basic techniques for painting wood shapes
- Claire

- Jan 26, 2023
- 6 min read
Updated: Oct 4
This blog post will cover some of the techniques you can use to paint any 3D laser cut wood shapes from Three & Me DIY Art Kits.

BEFORE YOU BEGIN:
Throughout the seasons you can find DIY Art kits here or ask to have a workshop converted to a kit. If you have your own supplies from a craft store, feel free to follow along below!

Your wood shapes will either come loose, attached to adjacent pieces with masking tape or inserted into a mask. This is to make it easier for you to figure out which parts puzzle together. The complexity and range of the designs vary greatly.
I will use a set of all-season laundry-themed squares to demonstrate, but all techniques can be applied to any 3D wood craft offered by Three & Me and beyond.

Before taking apart your designs, make a note of where they belong, to help you when it comes to puzzling them together afterwards.

If you look at the back of complex designs, you will see masking tape or a clear film that is keeping your design together. Leave them connected until you are ready to paint them, or you may loose tiny pieces or forget which pieces fit together!

If your shape has a base, such as a round/ square, rectangular bottom layer onto which you will paste smaller pieces, you will need to paint the base in whatever background color you choose or attach wallpaper/ scrapbook paper/ gift wrap etc onto it for a unique twist. This will be covered in Part 1 below.
While the background dries, you get to paint the cutout design that will be glued on top of it. This is covered in Part 2 below.
The Grande finale is the assembly of all the individual parts in Part 3.
PART 1:
PAINTING THE BASES:
The bases can be painted in any colors you desire. But where to begin?!
Here are a few thoughts on selecting colors:
1. Keep the base simple in color and texture if the design you're attaching on top of it is complex or busy.
2. A clean base goes well with an ornate design and vice versa.
3. Classic base colors such as white, black or wood stain go with almost everything.
4. Seasonal colors work well for bases, such as orange during the fall, green at St Paddy's, red at Christmas etc. Don't be shy to add a splash of color to one of your squares to see it pop.
5. Ombre techniques (dark to light in a couple of shades of the same color) can be very effective behind the right design.
6. If your design is simple, such as a heart cutout, leaf or other simple shape, you can go bananas with the base and even paint patterns, dots or stripes on it.
7. There really are no rules! Do what your heart desires and if you decide it's not right, you can always paint over it!
8. Have fun!
Get your supplies ready and let's start!
WOOD GRAIN BASE:
You will need:
acrylic or chalk paint
sponge brush for smooth finish or regular paintbrush for texture
avoid adding water, as it maty swell the wood base
Works well for:
any design where you want to see the wood through the paint.
Colors:
brown, grey, whitewash or any other color in a sparse application
Dry brush a sparing amount of paint onto your base.
Wipe off excess color with a paper towel or rag.
for deeper coverage add additional coats in the same or different tones.
See the clip below for technique.
SOLID COLORS:
You will need:
acrylic paint, chalk paint or spray paint
sponge brush for smooth finish or regular paintbrush for texture
Works well for:
solid backgrounds, with full coverage of the base, with no shading and may require numerous coats
Colors:
white, black or any other color in a solid application
Drybrush a sparing amount of paint onto your base.
Wipe off excess color on the edges with a paper towel or rag.
Allow the base to dry fully before applying additional coats of paint.
For spray paint, apply 2-3 light coats of spray paint in a well-ventilated area, drying between layers.
See the clip below for the paint technique. Repeat as necessary.
Examples of solid backgrounds:
OMBRE OR SHADED TECHNIQUES:
You will need:
acrylic or chalk paint in a variety of shades
your main color with white, and or another color for more diversity, eg. orange, yellow, white.
makeup wedges
Works well for:
backgrounds in multiple colors or shades of the same color, to create an interesting texture behind a simple design.
Colors:
Pick colors that go well together or blend into each other naturally.
Trying to shade colors that do not blend into each other naturally, will not work as well, eg. red and green will blend into brown, but red and yellow blend well into each other. You can use white, or sometimes a hint of black, to help transition the colors into each other.
Using a makeup wedge, blot a sparing amount of paint onto your base.
Recharge your wedge with the same color and a bit of white or second color.
Keep working your way down the base, adding more white/ second color.
Once the base is completely covered, work the colors together by blotting the same wedge over the colors until they merge seamlessly.
Wipe off excess color on the edges with a paper towel or rag.
Allow the base to dry fully before applying additional coats of paint.
See the clip below for paint technique.
You can work the colors from top to bottom horizontally or from center to edge in a circular motion.
Examples of blended/ shaded or ombre backgrounds:
PART 2:
PAINTING THE WOOD SHAPE DESIGNS:

You will need:
paint: acrylic, chalk or spray paint work great
brushes, sponges, make-up wedges
masking tape
optional accessories, such as nails, matches, toothpicks, weeding tools, dental picks for fine-tuning
sandpaper for distressing (optional)
paper towels for dabbing messes and sticky fingers
paper plate for blending paints
If your design is attached with tape, remove it, and separate out all your elements.
Paint all your like colors simultaneously. You'll need very little paint!
Use a makeup wedge for easy, smooth application.
Dab the wedge into the paint and then wipe off excess, so that it doesn't run down your design.
Small paint brushes work too, just be careful that you're not applying too much paint.
See a technique below:
Don't be shy to blend shades of colors.
Dip part of your wedge into white or black, blot off excess and run over an edge for shading.
Or add a splash of color to white for variety.
Get creative with matches, nails, toothpicks etc.
Dip a match into paint to stamp dots or make stripes.
Use a straw to get circles!
For painting very small pieces, you can leave them in the mask or attach them to the sticky side of masking tape for easier color application. Otherwise your fingers will look super-colorful when you're done! They will anyway, but watch the clip below for techniques described above.
Allow all your elements to dry fully.
Adjust colors and textures where necessary.
PART 3:
PUTTING IT ALL TOGETHER

You will need:
all your dry bases
your painted elements
Glue (unless your pieces are self-adhesive)
My favorite glue is Aleene's Turbo Tacky Glue, because it dries fast and clear. Superglue works too, but I find it dries too fast, in case I need to adjust something. Craft glue can be used, it just takes a little longer to dry. Avoid Hot glue- it's too thick and you'll likely burn all 10 of your fingers before you're done!
If your set is self-adhesive, there will be a 3M sticky backing on your wood elements. Peel this off to expose the sticky side and apply your pieces directly to your dried background.
Apply glue very sparingly, so that it doesn't squash out from under your design and ruin your beautifully painted pieces!
Alternatively, you can dab a Q-tip or small brush into the glue and dab it on.
See clip below for technique. I used my finger to distribute the glue, but you can always blot it with a paper towel or brush.

For very small elements, like in the washing machine, puzzle the bits together and apply a piece of masking tape over the top. This will make gluing small elements easier.

Flip the attached piece over and apply glue to the back of it.
Position the group onto your base and allow it to dry fully before removing the tape.
Attach all your other elements.
Once firmly adhered, remove the masking tape and your puzzled piece will stay in place!
Repeat with all your pieces.

Display proudly!
All the techniques described above can be applied to any 3D designs. I can't wait to see what you do with your projects! Please share them with me directly at claire@threeand.me or on social media with tag @threeandme.
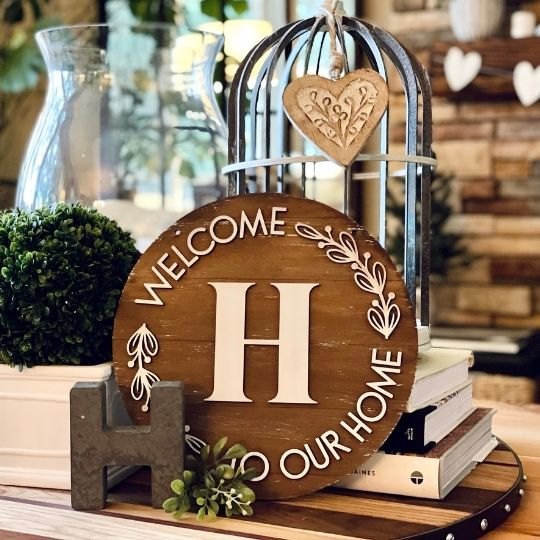
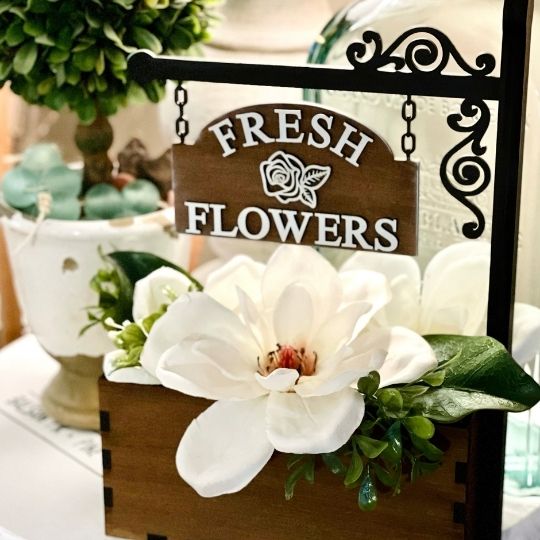
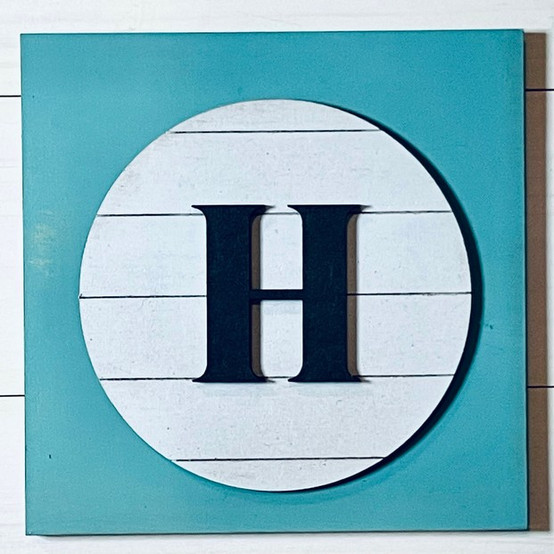
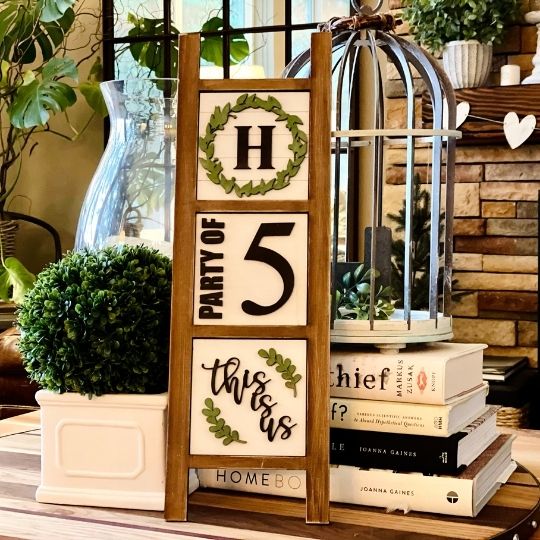
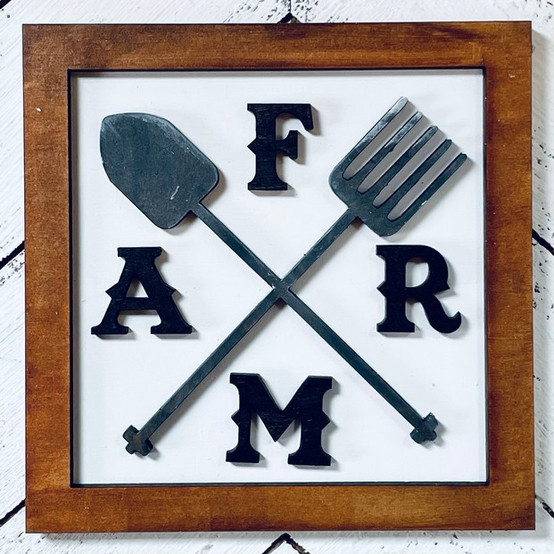
See more examples below of other projects.
Thanks for joining me!
Warmly,
Claire
xoxo
3D WOOD PROJECTS
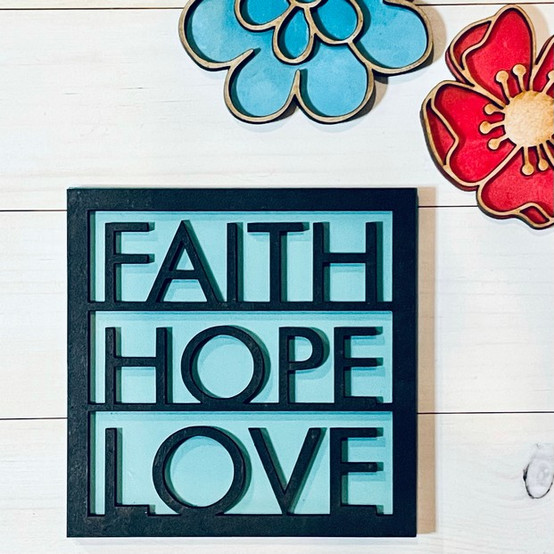
FAMILY, LOVE & VALENTINE THEMES
SPRING THEMES:
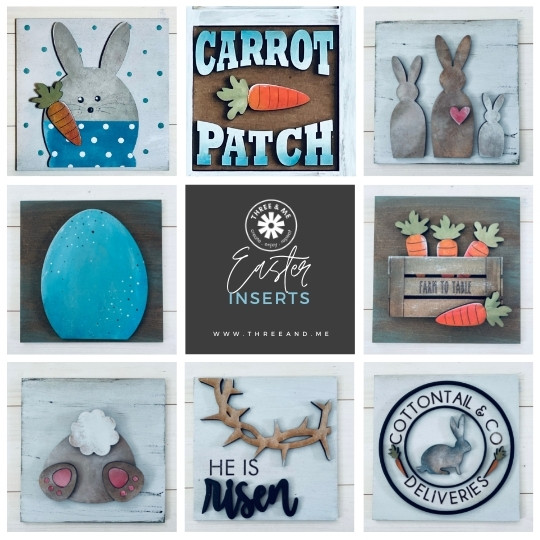
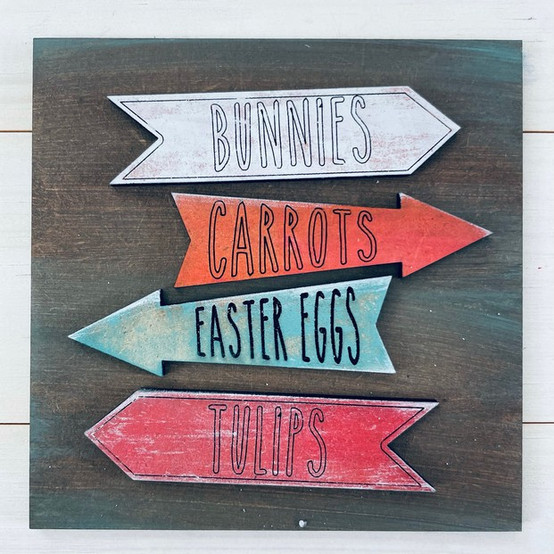
EASTER THEMES:
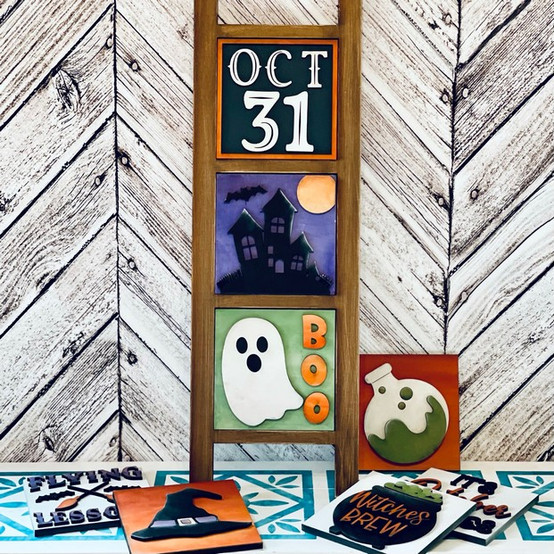
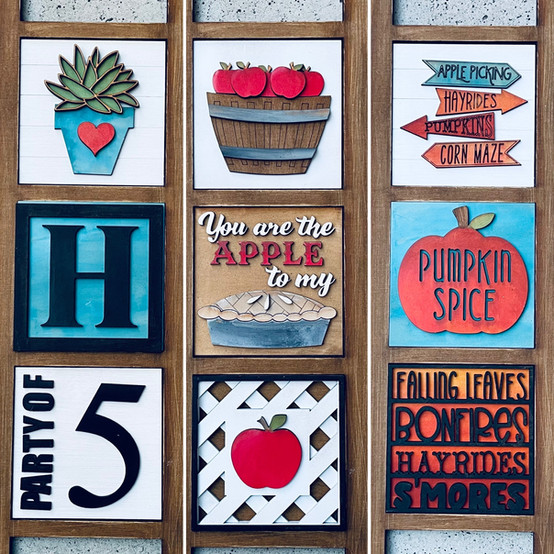
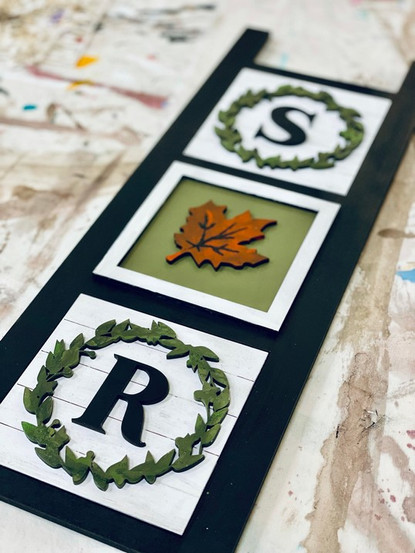
FALL & HALLOWEEN THEMES:
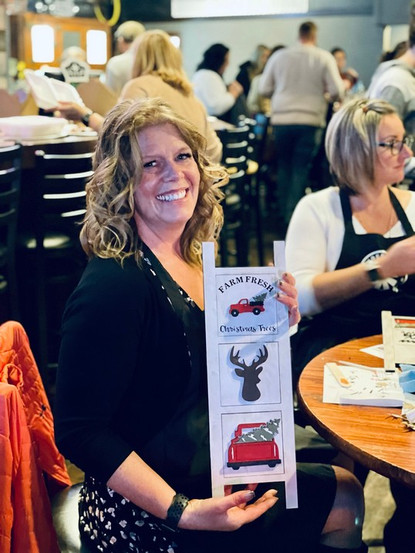
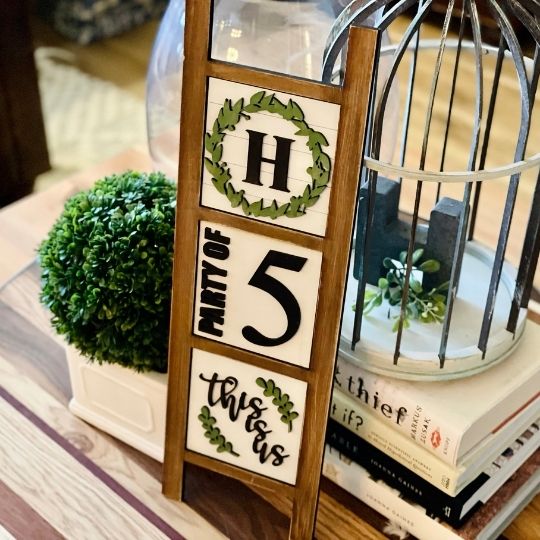
This is what others did....

#threeandme #fall #ladders #shiplap #halloween #leaningladder #framed #laundry #squares #3d #LOVE #VALENTINES #spring #easter #inserts #paint #tutorial #woodshapes













































Comments