Directional Signs
- Claire

- Jul 21, 2020
- 4 min read
Updated: Jul 30, 2020
This summer, create a beautiful directional wood sign with the cities that are important to the milestones in your life! Join me in putting this meaningful decor piece together for your home. Or contact me here to order a custom-made sign for an anniversary, wedding or other special milestone.

You will need:
1x4x 10' wood x2
Dewalt Miter Saw
Dewalt orbital sander or sandpaper
power drill
screw driver
paints and stains
brushes
Cricut or other design program for creating stencils
Cut your 1x4 wood into 19" lengths using the Dewalt miter saw. You can use cedar, pine or reclaimed wood. Even with varnish it will weather, if exposed, but that adds to the charm.

Measure the center of your wood and mark the edge.

Using a right angle triangle, draw a line from the mark to the outer edges, to give you an exact arrow head.

Position your miter saw to 45 degrees and cut along the pencil lines.

The edges will be a little messy so use an orbital sander to smooth all cut edges. Sandpaper with elbow grease works too... it just takes a little longer!

So neat and tidy after sanding!

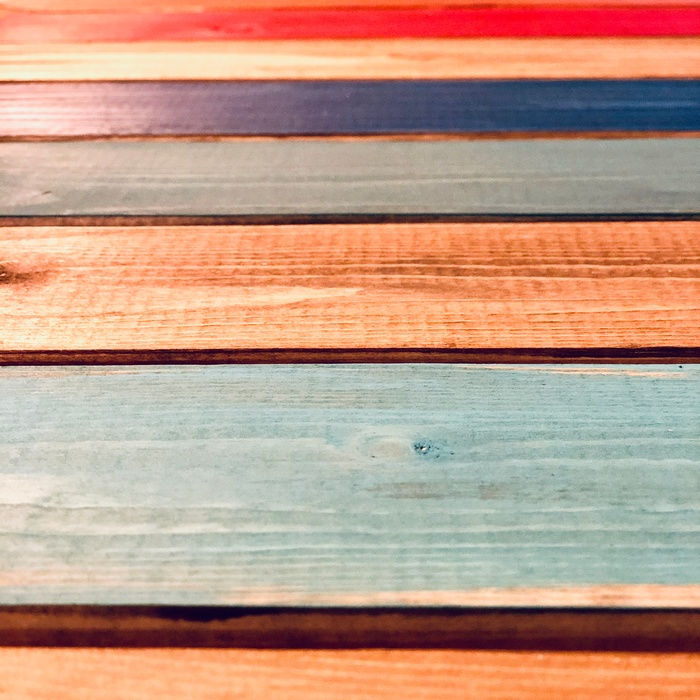
I like to use water based acrylic paints to stain my projects, because they are easy to customize, apply and dry, with less odor than oil based stains. Drench your sponge brush in water and run it through a mix of burnt umber and pavement grey acrylic paint, in a messy swirl. Wipe the mottled paint onto your wood in long, even strokes. Paint all sides and let the wood dry.

The uneven mixture of brown and grey paint, adds a reclaimed look to the wood. You can vary the ratio of grey to brown for a variety of shades on your arrows.
This is the fun part... well, one of them anyway! Pick a handful of fun colors to accent your signs, according to your color preferences. You can use acrylics, chalk paints or even cheap paint samples from Home Depot. Using a sponge brush dry brush the colors onto your stained wood. If you like a distressed finish, apply paint sparingly, but for a more complete coverage, apply a few layers of colored paint.

Design and print your stencils with a machine such as Cricut. Make sure that the city names are all centered and the distances align with the flat edges. This does take a little practice. Using a mapping program like Google maps, figure out whether a city is to the East or West of you, so that you know which way to orientate your lettering on your arrows. To have stencils created for you, please contact me here.

Flip your stencil over, rub it with a credit card to transfer the design and peel away the backing.

Place your stencil, sticky side down, onto your wood, making sure that it is evenly aligned. Carefully measure from the edges of the board to the base of your lettering to ensure that your stencil is straight! While this seems like an annoying step, it'll be less work than having to sand off your art and start again, in case it's off-center! Write down your measurements, so that you can replicate them on each of your boards.
Mine were 1 inch from the bottom and top edges and 3/4 inches from the straight edge to the first line of text.

Once your stencil is straight, gently trace the edges of the text with your finger to ensure a seal to prevent paint from running under the stencil. Remove the connective layer.

Using a stencil brush or sponge wedge, with a thick chalk-based paint, apply a thin first layer of paint to your design. Less is more. The less paint you use, the less chance there is of paint running under the stencil.

After a first thin coat of paint, the wood grain is still visible. But rather apply a few thin layers than one that is too thick.
While the paint dries, stencil all your other boards.

After 3 coats of paint, the coverage is sufficiently opaque!

Remove the stencil. Here you can see that even though I used very thin coats of paint there was still a little bit of run, because the wood surface wasn't totally flush. If this happens, just scrape the uneven edges with a zinc nail or piece of sandpaper.

Coat all sides and edges of your signs with a sealant or varnish, to protect your work from weathering. It does take about 3 coats of varnish, with drying time in-between to sufficiently seal each board. A non-yellowing clear spray varnish is easy to apply. It comes in matte or gloss, to suit your preferences. I would plan reapply it every year.

To attach the boards to the galvanized steel pipe, cut out a template of your shape and measure the center horizontally and vertically to make sure you attach each board at the same point. The easiest way to do this is to fold your template in half both ways and you'll have the center. Mark off where the holes of your tube straps will need to be drilled. Place your template on the back of your board and drill two shallow pilot holes. Don't go too deep, or your screws won't have enough resistance.

Screw each of your boards into place, using 3/4 inch #6 sheet metal screws. Space boards equally. I used a spare block of wood as a spacer.
Use a level to make sure they're horizontal!
Screw the end cap onto your pole, for a finished look and to prevent it filling up with rain water!

You can twist the signs around the pole for a more authentic look.

Push the 10 foot metal pole into the ground by 2 feet, to ensure that it is stable. If necessary, fill gravel or cement into the hole to anchor your creation!
Now put up your feet, admire your work and prepare to tell all the interesting stories from all your special places to all that will ask!
I hope you enjoyed this post and that your sign turned out gorgeous! Please send feedback or share your work with tag #threeandme.


Comments