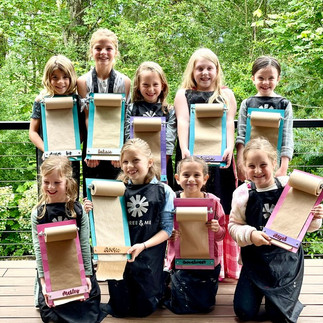
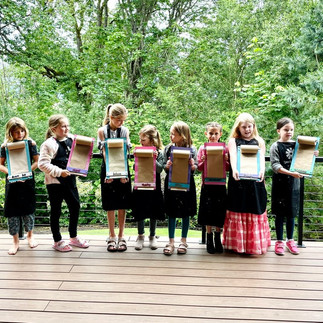
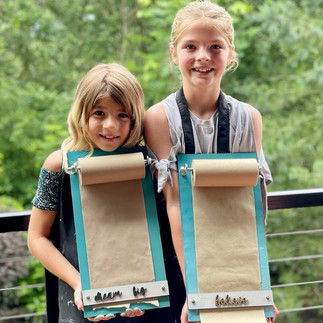
PAPER ROLL HOLDER
- Claire

- Jul 24, 2022
- 2 min read
Updated: Aug 14, 2022
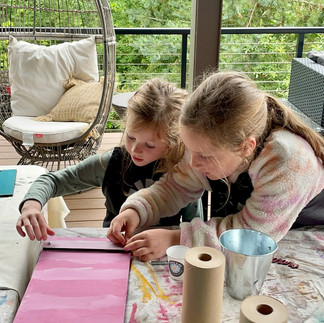
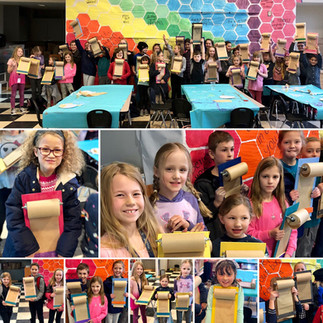
If you're anything like me, then you're always out of notepaper.... no matter where I place it, someone always takes my notepaper, carries it off to make notes or draw superhero pictures and never returns it, so whenever I am in need of paper to scribble something on, it's nowhere to be found. So I decided to make a big notepad that can be located in the same spot in the kitchen for whenever anyone needs to write a note... or it can be taken on road trips to play word games, draw on your lap and stay creatively entertained. I think you'll love it too. It's a favorite kids party project!
Let's create another one. Together.

MATERIALS IN THE DIY ART KIT:

1/4" wood 8x16" with 2 big and 2 small holes
1/4" wood 1.75x8" with 2 small holes
reclaimed paper roll 6"
1 threaded zinc bolt 8"
1 large zinc nut to fit on bolt
2 zinc eye bolts
4 medium nuts
2 flat washers
2 small bolts
2 small nuts
1 self-adhesive wood name/ word (if requested)
2 paint colors
1 re-usable sponge brush
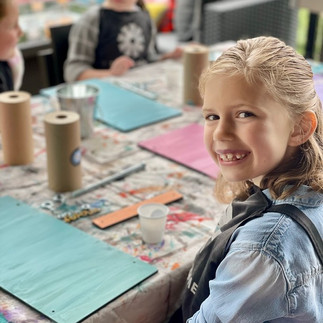
INSTRUCTIONS:
Paint the base and cross bar any colors you choose on the top surface only.
Do not use water.
Play around with fun techniques, like ombre, stripes with masking tape or dots with a Q-tip!
Dry fully.

Start the assembly at the base of your project.
Push the small bolts through the small holes, from behind, so that the threaded bolt ends sticks up towards you.

Top view:

Place the small washers over the small bolts. (these will allow the paper to pass through between the base and the cross bar!)

Repeat on the second side.

Place the painted cross bar over the bolts, pushing their ends upwards through the small holes.

Secure the cross bar in place with the nuts.

Now for the top:
This is why they're called eyebolts:

Screw a medium sized nut about a third of the way up each eyebolt.

Push the eyebolts through the big holes, so that the 'eyes' are face-up on surface.

Secure into place from behind, by screwing on a second medium sized nut.

Straighten the 'eyes'.

Thread the large zinc bolt through 1 'eye', through the paper roll and then through the second 'eye'.

Secure by screwing the large hex-nut onto the end of the large bolt.

Make sure your paper roll threads from beneath, not over the top.

Fold the end of your paper roll into a point. This makes it easier to thread under the crossbar!

Thread the paper under the cross bar. Do this every time you tear it off!
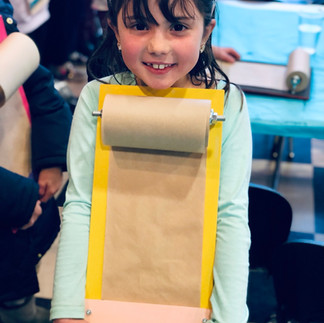
The cross bar keeps your page in place, while you write on it and it a handy ruler for tearing your paper when you're done with it.

You are now ready to write, create, make lists and imagine!

When your paper runs out, just replace it, buy unscrewing the large nut.
Write many fun things on your new rustic notepad! It's great for inspirational sayings, notes, lists, designs, drawings, menus, things you need to remember ... it truly is a wonderful addition to the home and all road trips, because of the solid base.
How will you use yours? Share your creations with me at claire@threeand.me or by adding the tag #threeandme on social media. See what others have done:


Enjoy it and write on it often and be inspired!
Warmly,
Claire

#threeandme #paperrollholder #woodcrafts #DIYArtkit #paintproject #tutorial #artforkids #shoppinglist


Comments